

Custom 3D Printed Figurines: How They're Made and What to Check Before You Order
5 min read
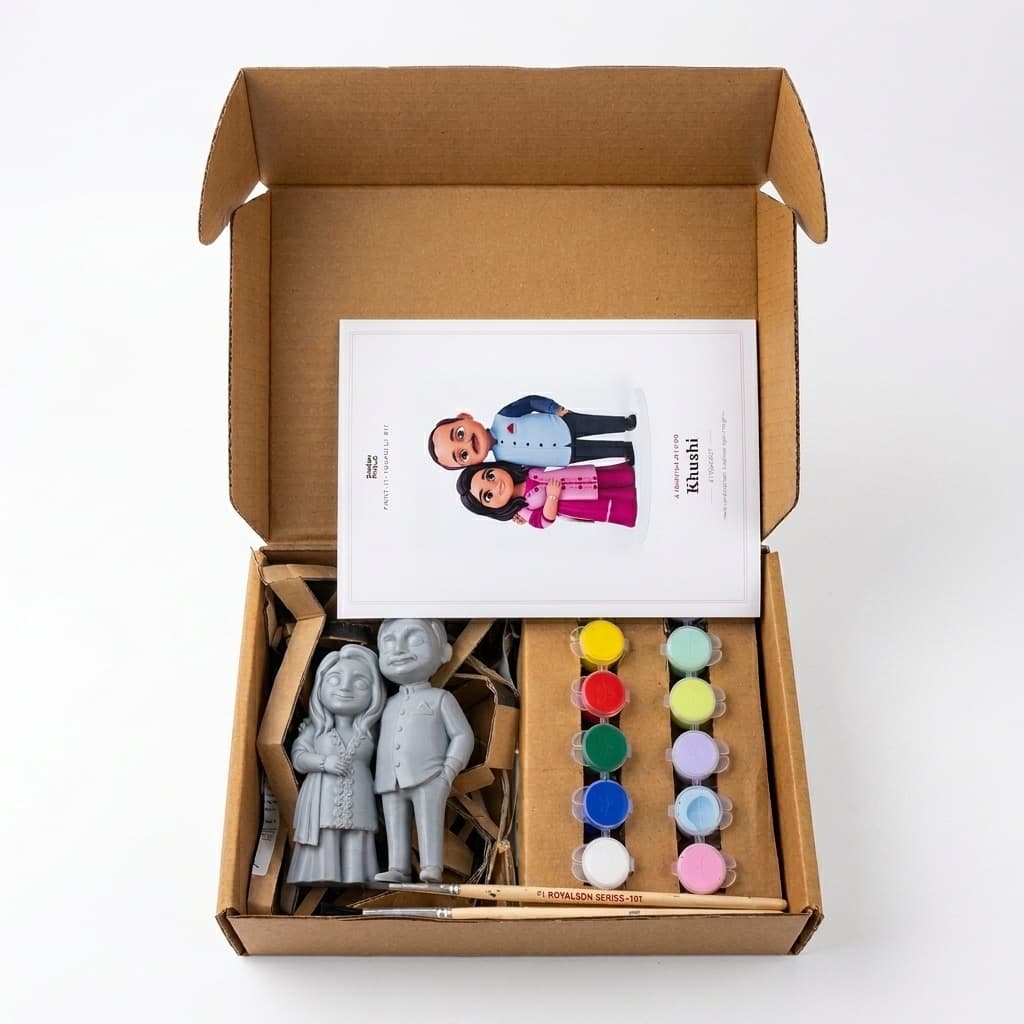
"3D printed" sounds like one process. In practice a custom figurine passes through five or six distinct stages, and the ones that decide whether it looks like the person and survives a shelf are mostly not the printing. This is how we make ours in Siliguri, written so you can ask any seller the right questions, whether or not you buy from us.
Someone or something has to turn a flat photo into a 3D shape. Three ways exist. A 3D scan (a booth or dozens of photos stitched together) captures the real geometry and is the route for photoreal statues. A human sculptor models the figure by hand in software over a few days, which is how most bobbleheads are done. Or an image model generates a stylised design from the photo, which a 3D pipeline then turns into a printable mesh; that's our route, and it's why we can show you a full-colour preview in minutes and let you approve it before anything is printed or paid for.
The question to ask here: do I see the design before it's made? If the answer is "after payment", the risk sits with you.
We moved from FDM to resin in 2026 for the faces. If a listing doesn't say which, ask; the price often tells you.
A resin print goes into an isopropyl alcohol wash to strip uncured resin, then under UV light to fully harden. Only then do the supports come off, leaving tiny nubs that get clipped and sanded, especially where they touched the face or hands. A seam or two from the printing orientation gets filled and smoothed. Skipping this stage is what produces figurines that feel tacky, smell, or have a rash of little bumps along one side. It's an hour or so of hand work per piece and nobody advertises it, which is exactly why it's worth asking about.
Cured resin is glassy, and acrylic paint straight onto it beads, streaks and can be rubbed off with a thumbnail. Primer gives the paint something to grip. One coat helps; two thin coats make the difference between a figurine that takes paint evenly and one that fights you on the first colour. We prime every piece twice, white, so the colours you paint read true. Painted figurines from a studio go through the same step before their artist starts; for a kit, it's the reason you can open the box and paint immediately.
A studio piece is painted by hand over one to two hours and that labour is most of its price. A kit moves that step to your table. The part that makes a kit painless is not the paints themselves but the matching: every colour in the approved preview is mixed against real paint stock and poured into a numbered pot, and the number appears on a map of your figurine exactly where that colour goes. No judging skin tone by eye. What that evening is actually like, if you're curious.
A 13 cm figure on narrow feet will not stand; it needs a pedestal, and groups of two or more are more stable and print cleaner as separate pieces each on their own base than as one joined sculpt where arms and shoulders merge. Then packaging that survives an Indian courier: foam cut to the figure, pots sealed so transit heat doesn't pop them. Ask whether a base is included and whether a group comes joined or separate.
How ours answer them
Preview approved before payment; resin; washed, cured, de-supported and cleaned by hand; two coats of white primer; you paint it with hand-mixed numbered pots; 13 to 14 cm on a black pedestal; groups ship as separate pieces. Details on the how it works page.
The photo is turned into a 3D design (by scanning, a human sculptor, or an image model plus a 3D pipeline), printed in resin or FDM plastic, then washed, cured, de-supported and sanded, primed so paint will hold, and either painted by an artist or shipped as a kit with matched numbered paints. A base and protective packaging finish it.
Resin for anything with a face. It prints at 0.03 to 0.05 mm layers and holds eyelids, glasses and fabric folds that FDM (0.1 to 0.2 mm layers) blurs or shows layer lines through. FDM is tougher and cheaper and suits larger, simpler objects.
Cured resin is glassy; acrylic paint beads and rubs off without primer. Two thin coats of primer give the paint grip and an even white base so colours read true. Bombay Print Lab primes every figurine twice before it ships.
Separate figures each on their own base are more stable, print without merged arms and shoulders, and are easier to paint. Bombay Print Lab sculpts every group of two or more as separate free-standing pieces for that reason.
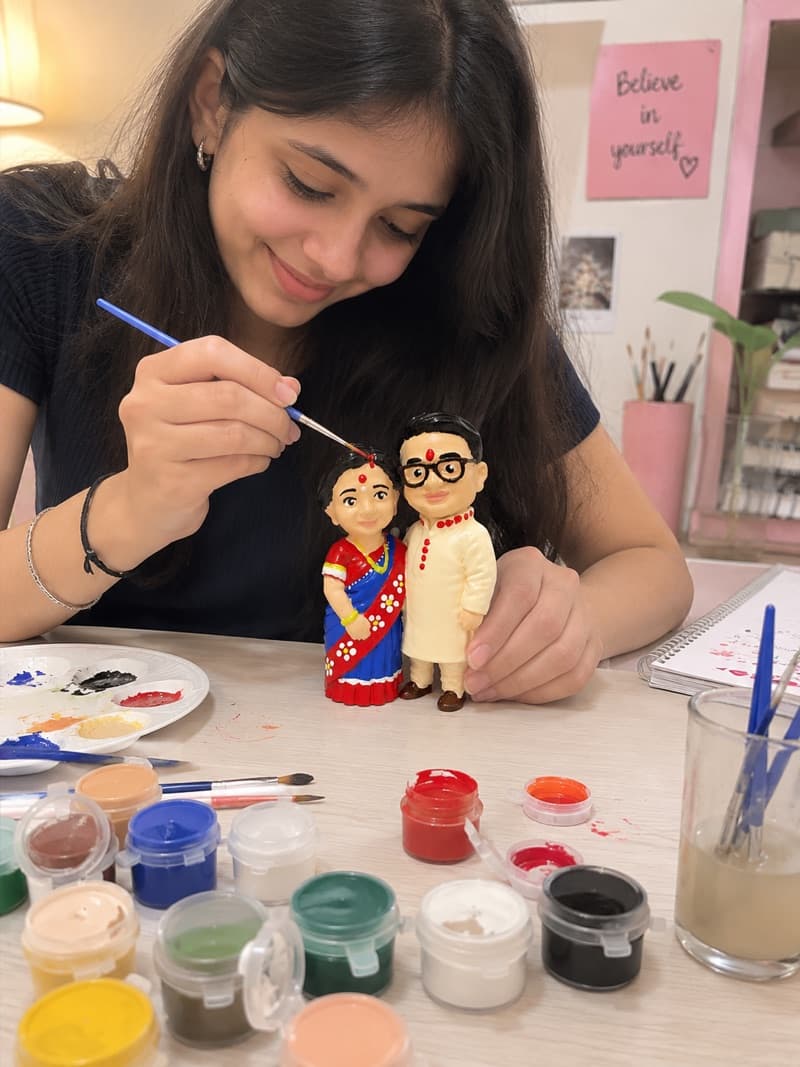
Painting & Together-Time
The good DIY activities share one trait: they end with something on the shelf. Fifteen of them, sorted by who's at the table.
5 min read
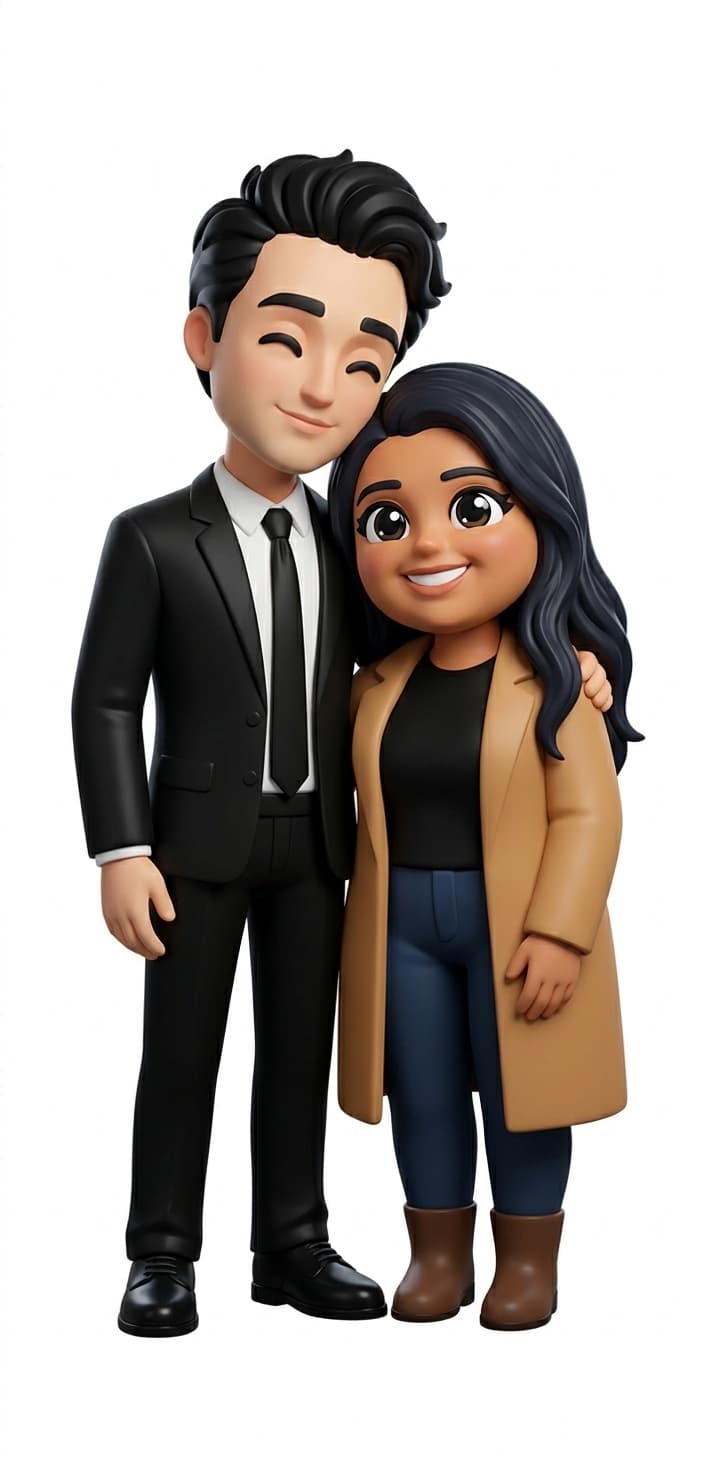
Painting & Together-Time
Most "things to do at home" lists end with a movie. These ten end with an object on the shelf, and none of them need talent.
5 min read
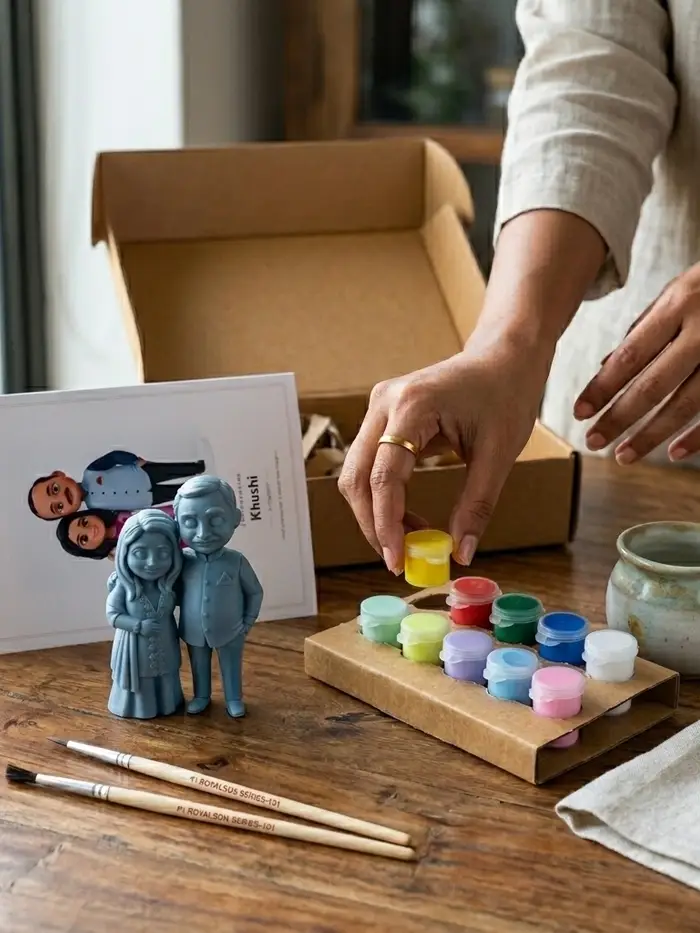
Painting & Together-Time
Eyes are the part everyone dreads. With one white, one black and a bit of patience, they're also one of the quickest bits of the whole figurine.
6 min read