

How to Paint Eyes on a Figurine (Without Losing Your Nerve)
6 min read
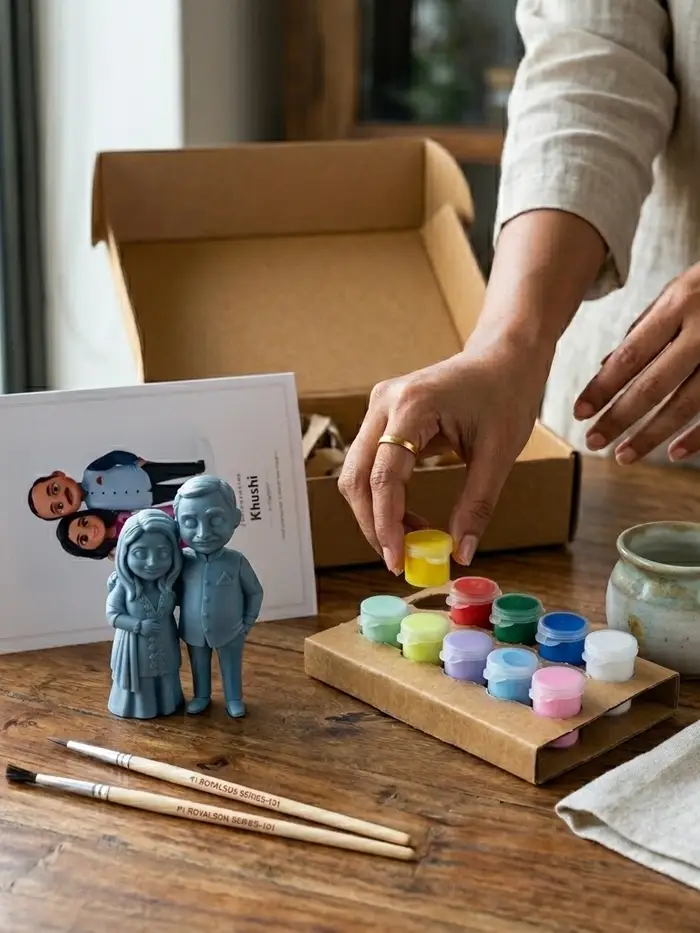
Eyes are the step people put off until last, and then stare at for ten minutes before touching. That makes sense. They're tiny, they sit right in the middle of the face, and you can't really see them clearly until the paint is already on. Cartoon-style eyes on a figurine only need two colours, a white (or an off-white) and a black, and a simple order of steps. Follow them and you'll get eyes that look alive from arm's length, which is the distance anyone will actually look at them from.
Pick up a small amount of white on the tip of your fine brush and fill in the eye shape that's sculpted on the face. Work from the middle of the eye outwards, so if the brush slips it slips into the area you're painting rather than onto the skin. You don't need to reach every edge perfectly on the first pass.
One thin coat will probably look a little streaky. That's fine. Let it dry, then do a second thin coat. Two thin coats always look smoother than one thick one, and they won't fill in the sculpted detail around the eye.
If you get white on the skin
Leave it. Don't wipe it while it's wet, it'll just smear across the cheek. Once everything is dry, a tiny touch of the skin colour over the stray bit tidies the edge and actually sharpens the eye shape.
This is the step everyone skips, and it's the one that matters most. If you put the black on while the white is still soft, the black bleeds into it and turns into a grey smudge, or the brush drags the white up with it. Give the white a good 15 to 20 minutes to dry. Touch-dry isn't the same as properly dry, so if you're unsure, wait a little longer. Paint the other figurine, have a cup of chai, come back.
Now the pupil. The trick is to dot, not draw. Dip just the tip of your toothpick or brush into the black, dab off the excess on the edge of the pot or a scrap of paper, then touch it straight down onto the white and lift it straight up. One small touch. Don't drag or twist it.
Where the dots sit decides where the figurine is looking, so this is worth a moment's thought before you touch the white.
Your eyes will not look like the picture on a screen, and that's not the goal. At this size, a slightly uneven pupil or a white that's a hair too wide gives a hand-painted face its character. Nobody is going to inspect your figurine under a magnifying glass. They're going to see it on a shelf and recognise the person, and that recognition comes far more from hair, skin colour and clothing than from whether a dot is half a millimetre off.
The thing that ruins eyes is usually trying to fix them over and over while they're wet. If one really bothers you, let it dry completely, paint white over the black, wait again, and redo the dot. It's a two-minute fix, and you'll only ever need it once or twice.
Around 15 to 20 minutes on a small figurine. If the black goes on too early it bleeds into the white or drags it, which is the most common reason eyes come out smudgy.
Either works, but a toothpick is often easier for beginners because it makes a clean, round dot and can't splay like brush bristles. Re-dip it for every dot.
In the middle of each eye, or nudged very slightly towards the nose. Keep both dots at the same height and the same size.
No. Let it dry, paint white over the mistake, let that dry, and redo the dot. A stray mark on the skin gets covered with a touch of skin colour once it's dry.
Painting & Together-Time
A wrong colour or a smudged line on a half-painted figurine feels final. It almost never is. Here's how to actually rescue it.
4 min read
Painting & Together-Time
A kit gives you paint and brushes. Here's the short, cheap list of everyday things you'll also want on the table before you start.
4 min read
Painting & Together-Time
The parts nobody mentions beforehand: how long it really takes, what goes wrong halfway through, and why the crooked bits end up mattering.
4 min read